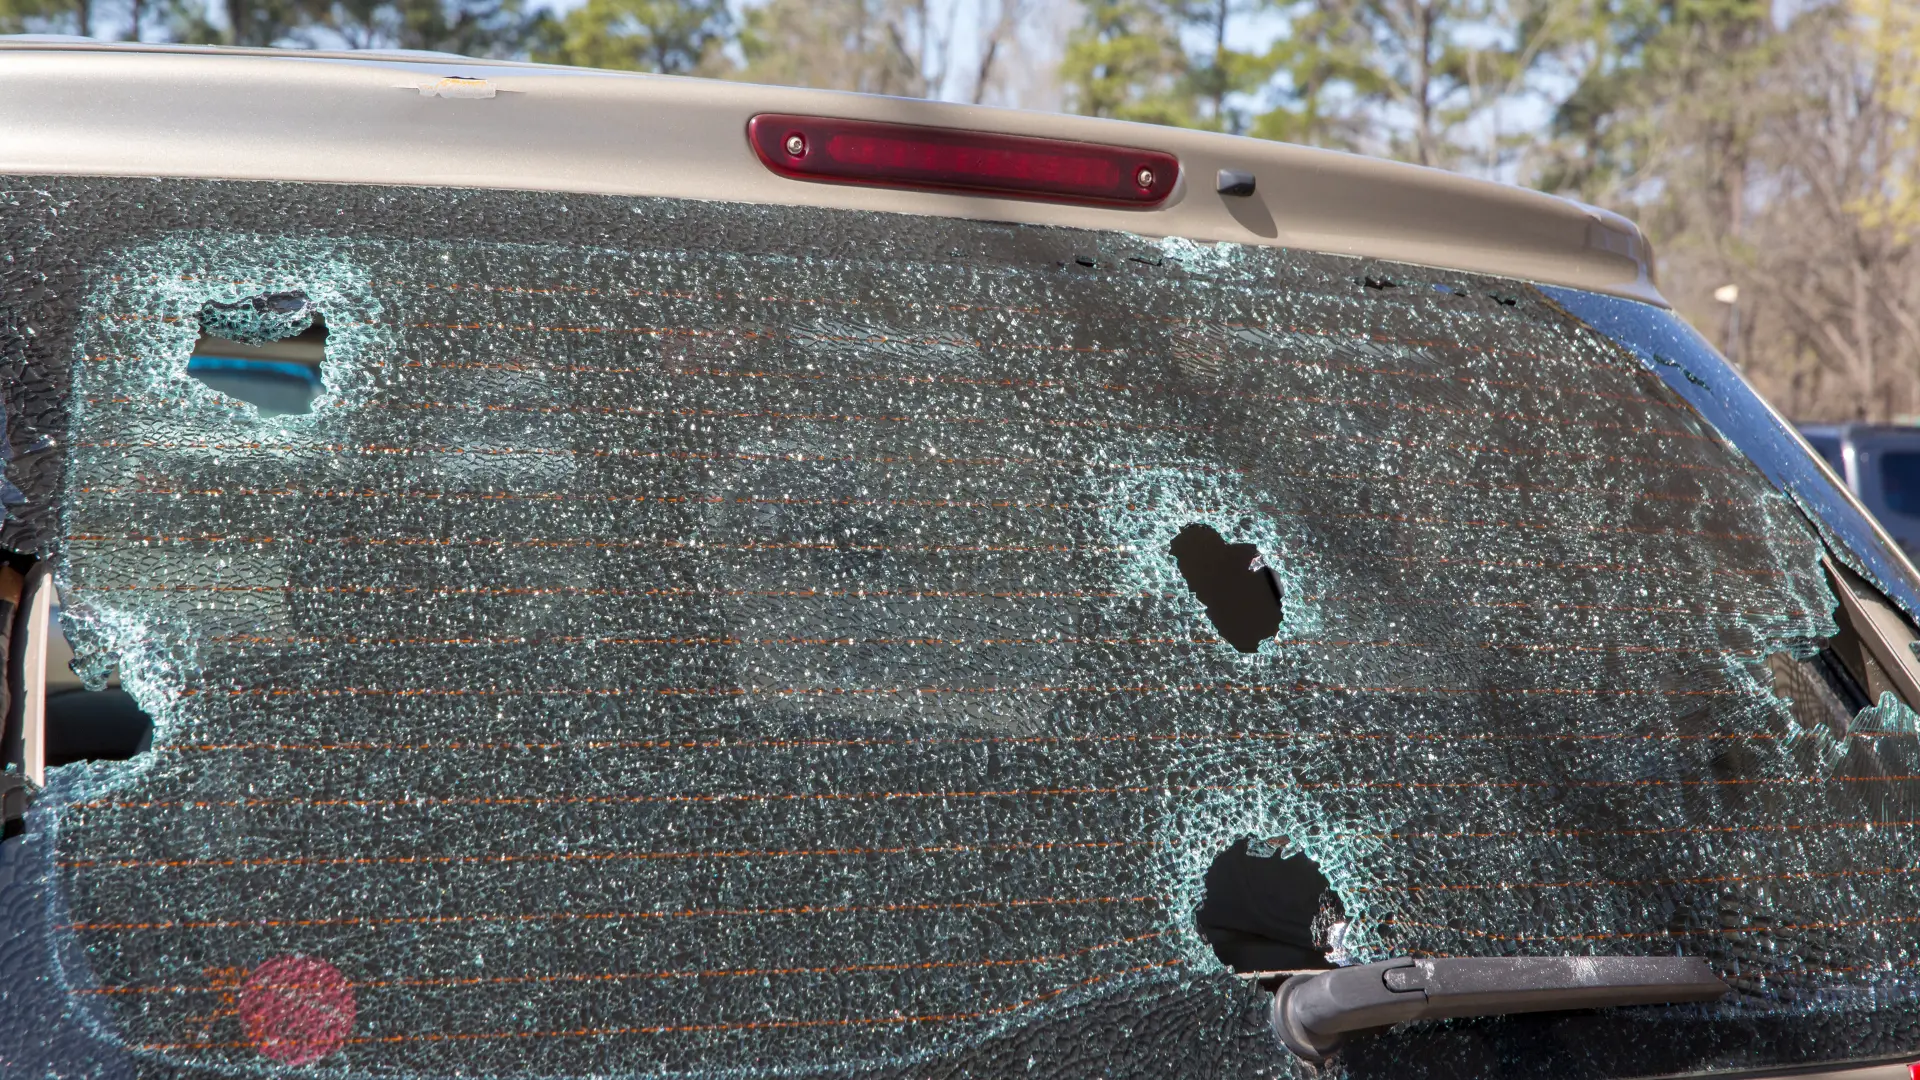
A broken car window can be a significant inconvenience, not to mention a security risk. Whether it’s due to an accident, vandalism, or a stray ball, it’s important to temporarily cover a broken window until you can get a permanent repair. This article will guide you through some effective and easy-to-implement temporary solutions. Covering a broken car window is generally considered an easy task, especially if it’s a temporary fix. Most people can do it themselves with a few basic materials and no specialized skills.
Materials Required To Cover A Broken Car Window
As it’s not safe to have a broken window in your car, it should be fixed instantly. The DIY procedure can repel dust and winds from the car’s interior. The temporary fix will not last long, so keep in mind that you need car window repair. But to get on the road to the nearest repair shop, try this quick temporary solution:
- Clear plastic sheeting or a heavy-duty trash bag
- Strong tape (duct tape or packing tape)
- Scissors or a sharp knife
- A microfiber cloth (for cleaning)
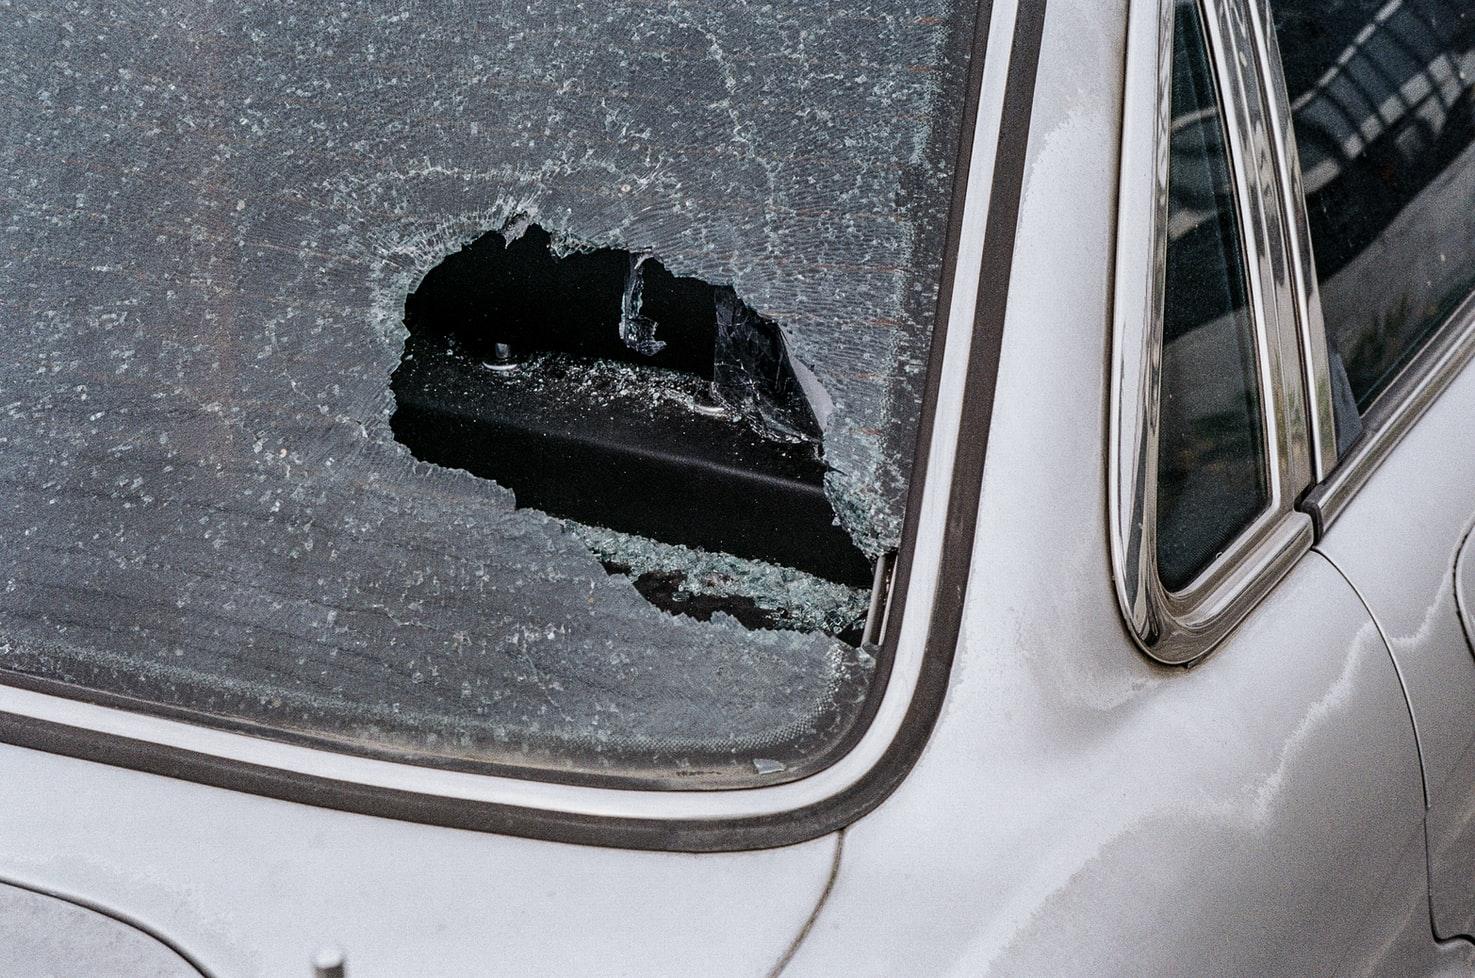
Step 1 Clean & Cover The Broken Car Window:
Before you start, ensure that the area around the broken window is clean. Use thick, protective gloves when handling broken glass to protect your hands from cuts and remove any glass shards and debris from the window frame and the car’s interior. Use a microfiber cloth to wipe down the frame. If broken glass is in the rear window you can consider pushing the glass into the trunk of the car so the glass does not further fall into the road or driveway.
Collecting the Glass:
- Use a dustpan and brush, or a piece of stiff cardboard, to gently sweep up the smaller pieces of glass.
- For larger pieces, carefully pick them up with your gloved hands.
Disposing of the Glass:
- Place the collected glass in a sturdy box or container. You can line it with a heavy-duty trash bag for extra safety.
- Seal the container or bag securely. This is crucial to prevent the glass from posing a hazard to anyone handling the trash.
- Label the container or bag as containing broken glass, so anyone who might handle it is aware of the contents.
Where to Push/Put the Glass:
- If you’re in a public place or roadside, ensure that all the glass is collected and removed from the area to avoid causing harm to others or to vehicles.
- If you’re at home, keep the sealed container or bag in a safe place until you can dispose of it properly.
Vacuum the Area:
- After removing the larger pieces, use a vacuum cleaner to pick up any tiny shards from inside and around the car. Be thorough, as even small pieces of glass can be dangerous.
Check the Area:
- Once you think you’ve removed all the glass, double-check the area. Look under the car and in nooks and crannies inside the car where glass might have landed.
This step is crucial for the tape to adhere properly.

how to cover a broken glass windshield DIY before your visit to a professional windshield repair
Step 2: Cut the Plastic Sheeting To Put On Your Broken Car Window
The goal here is to prepare a piece of plastic sheeting or a heavy-duty trash bag that will adequately cover the broken window and provide a temporary barrier against elements like wind, rain, and debris.
Certainly! Expanding on Step 2, “Cut the Plastic Sheeting,” for temporarily covering a broken car window:
Step 2: Cut the Plastic Sheeting
Objective: The goal here is to prepare a piece of plastic sheeting or a heavy-duty trash bag that will adequately cover the broken window and provide a temporary barrier against elements like wind, rain, and debris.
Materials:
- Clear plastic sheeting or a heavy-duty trash bag: These materials are chosen for their durability, flexibility, and waterproof qualities.
- Measuring tape or ruler: To ensure the right size.
- Scissors or a utility knife: For cutting the material.
Instructions:
- Measure the Broken Car Window:
- Use a measuring tape or ruler to measure the dimensions of the car window. Measure the height and width of the window opening.
- Add Extra Margin:
- When you cut the plastic, add at least 3-4 inches (7-10 cm) on each side of the measurements you took. This extra margin is essential for a secure attachment to the car and to ensure no gaps are left uncovered.
- Select the Plastic Sheeting or Trash Bag:
- If using plastic sheeting, roll it out on a flat surface.
- If using a heavy-duty trash bag, cut down one seam and across the bottom to create a flat, large piece of plastic.
- Cut the Material:
- Place the plastic sheeting or opened trash bag on a flat, clean surface.
- Use scissors or a utility knife to cut the material to the required size. Ensure your cuts are straight and even.
- Check the Size:
- After cutting, hold the plastic up to the window to make sure it covers the entire area with extra space around the edges for taping.
- Safety Tips:
- Be careful when using sharp tools like scissors or utility knives.
- If you are cutting a larger piece, it might be helpful to have someone assist you by holding the material steady.
Step 3: Placing The Polythene Bag / Plastic Heavy Duty Garbage Bag
Start by taping one edge of the plastic to the top of the window frame. Make sure the tape is secure and covers the entire edge of the plastic. Gradually work your way around the window, pulling the plastic tight and taping it securely in place. The goal is to create a seal that keeps out rain, wind, and debris.
Step 4: Layering And Testing
It wouldn’t be enough to just put in one layer; add two more layers to ensure the temporary fix holds for a while. Once you’ve taped the plastic all around, check for any gaps or loose areas. Add more tape if necessary, ensuring the plastic is as taut and secure as possible. Gently press on the plastic cover to ensure it’s secure. If you notice any flapping or loose areas, reinforce these spots with more tape.
Precautions for Temporarily Covering a Broken Car Window
When temporarily covering a broken car window, it’s crucial to prioritize safety and effectiveness. First, ensure the area around the window is free from sharp glass shards to avoid injury. Use protective gloves while handling and disposing of broken glass. The temporary cover, ideally clear plastic sheeting or a heavy-duty trash bag, should be secured firmly with strong tape to withstand weather conditions, but remember, this is only a short-term solution. Avoid using the temporary cover on the driver’s side window, as it can obstruct visibility, posing a risk while driving. Additionally, refrain from operating the covered window to prevent dislodging the cover.
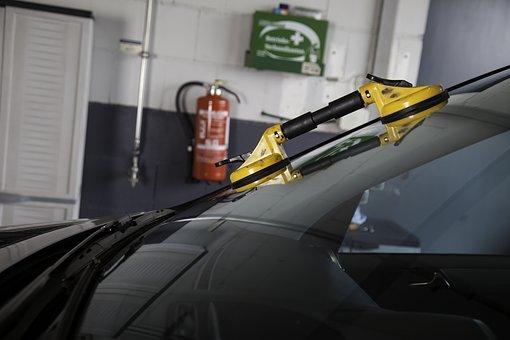
Let Crystal Glass Make Your Job Easier
While this DIY fix is an easy repair, it is clearly neither permanent nor safe as broken car windows can be problematic. Arrange for a professional windshield repair as soon as possible, as the temporary cover is not a substitute for a sturdy, permanent window. For affordable car window repair in Edmonton, call Crystal Glass at (780) 436-8780; the professionals at Crystal Glass can handle the situation quickly and effectively.