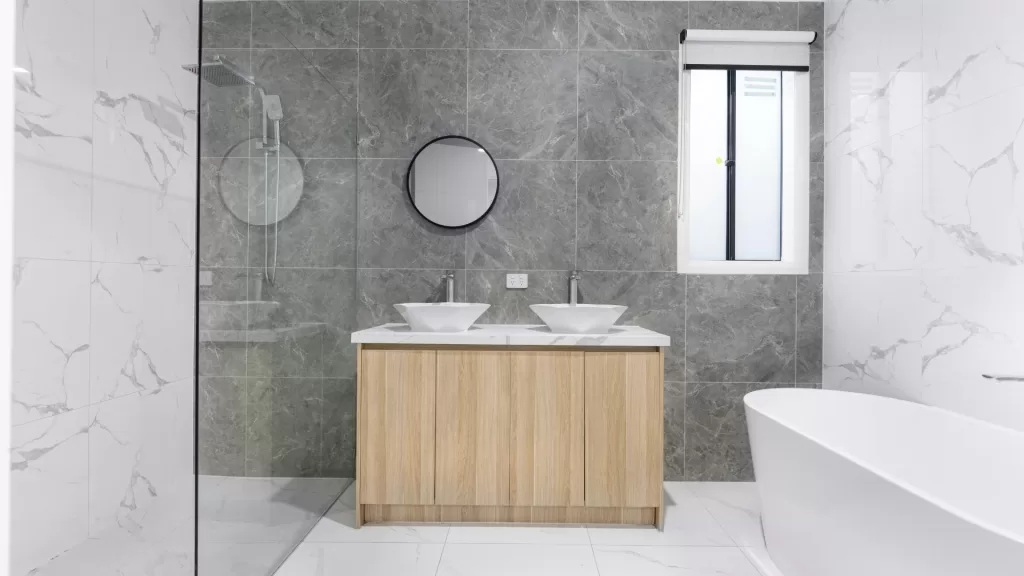
Just as glass transforms showers, it can redefine your entire interior-glass railings open sightlines while preserving safety, glass staircases amplify natural light and create a modern focal point, and glass-front cabinets display your collections with clarity and protection; this post guides you through five creative, practical ways to integrate these elements so you can elevate aesthetics, improve flow, and increase perceived space in your home.
The Allure of Glass in Home Interiors
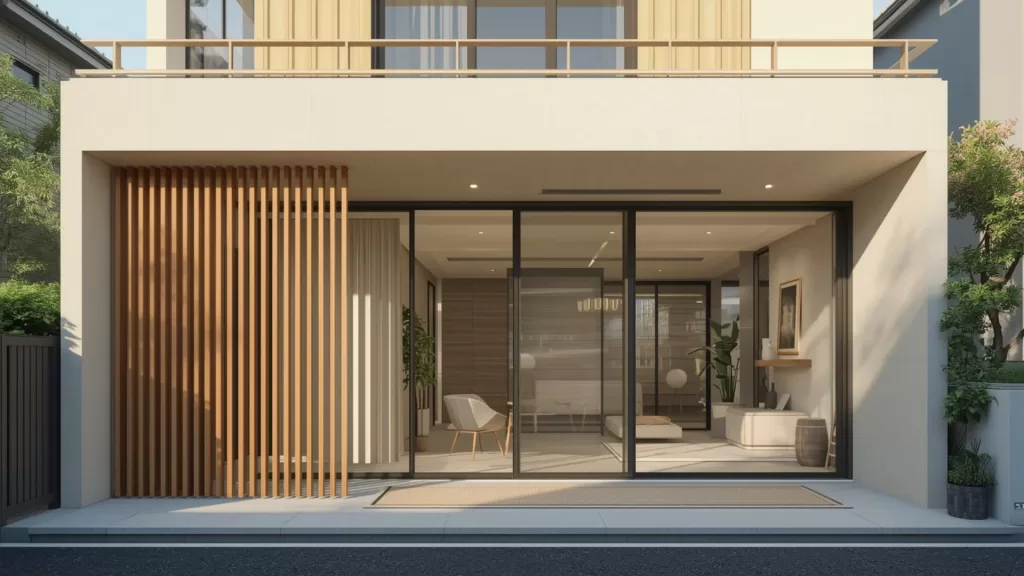
When you replace solid barriers with glass elements, your interiors gain depth, continuity, and a refined minimalism; common choices like 10-12 mm toughened balustrades, low-iron panels, and 4-6 mm glass-front cabinet doors preserve views while meeting safety and durability standards, and they integrate with finishes such as brushed steel or brass to make staircases and storage feel like architectural features rather than afterthoughts.
Aesthetic Appeal
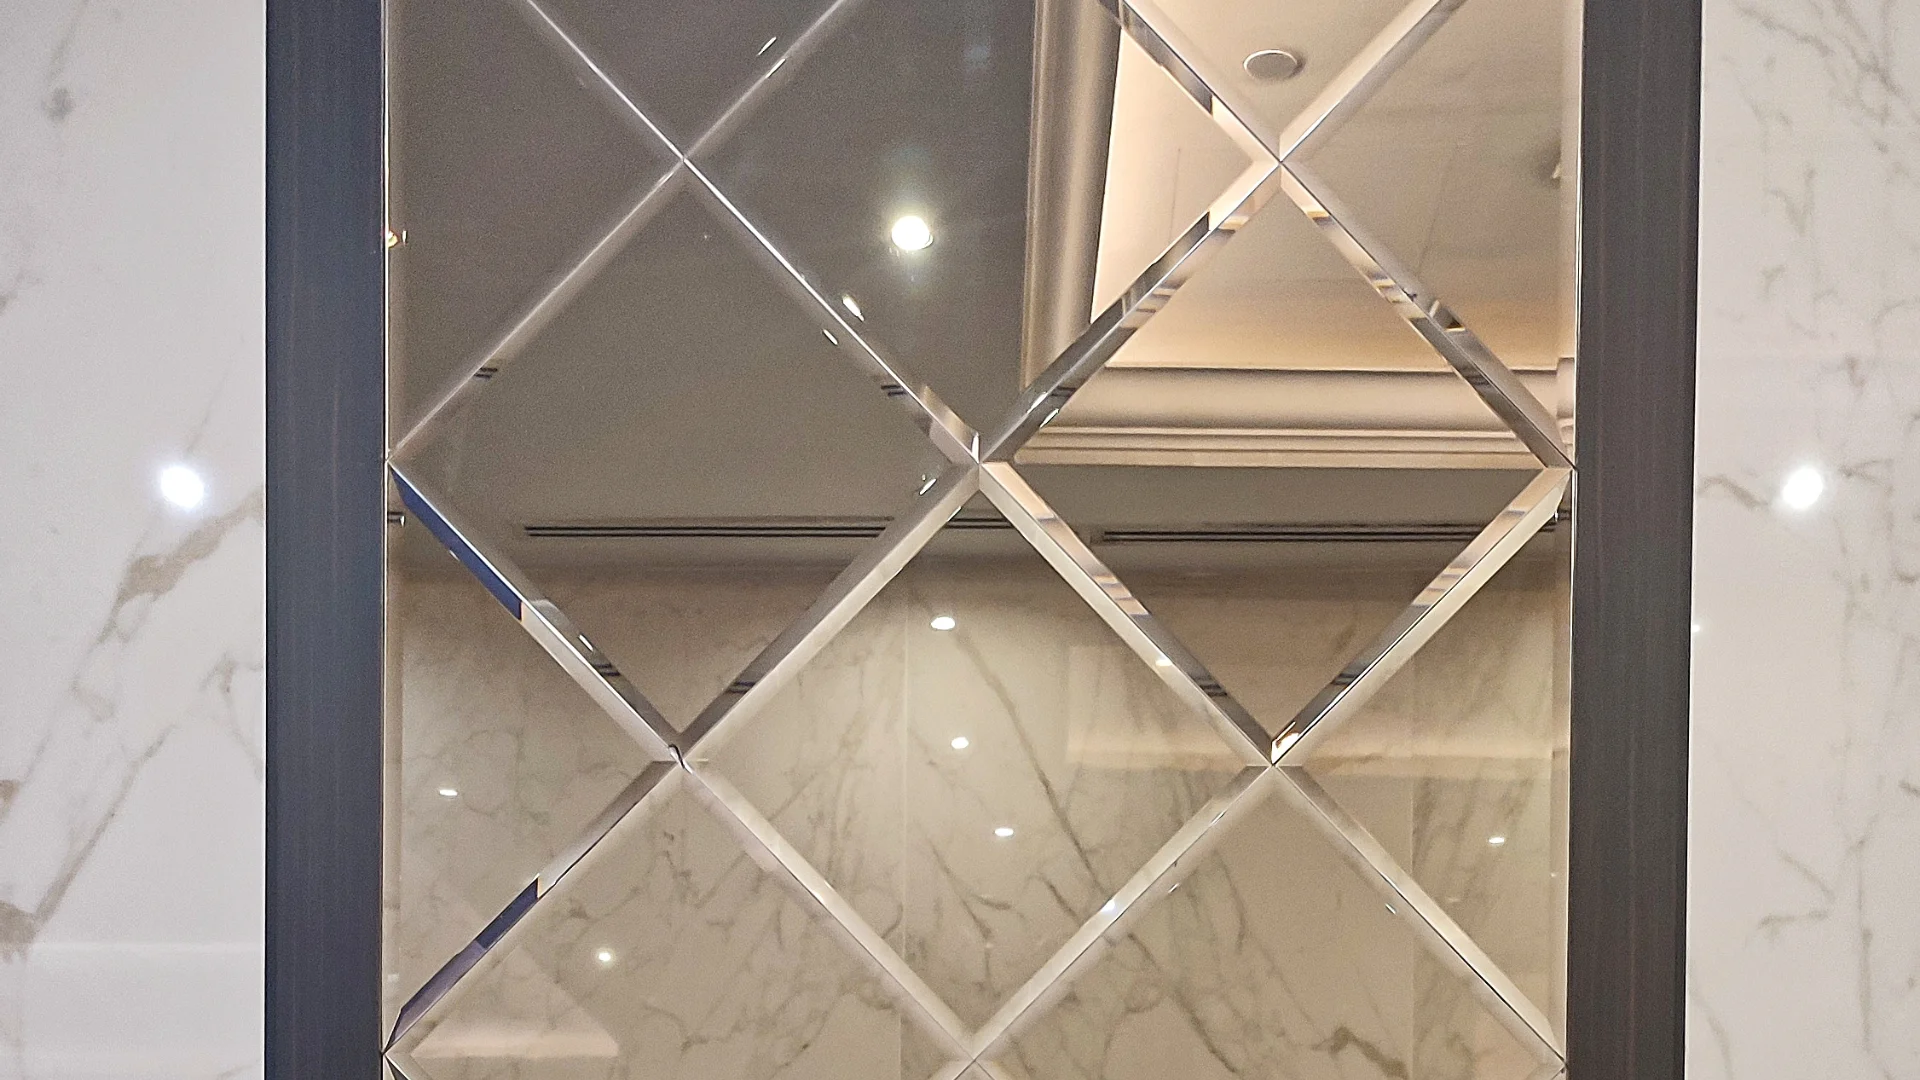
You can use clear, low-iron, frosted, or acid-etched panes to tune contrast and privacy: frameless glass railings with point-fix fittings emphasize floating stairs, whereas slim-profile framed systems introduce a grid-like rhythm; mixing tempered glass with warm wood treads or matte hardware creates high-end contrasts that appear in contemporary renovations and showrooms alike.
Natural Light Enhancement
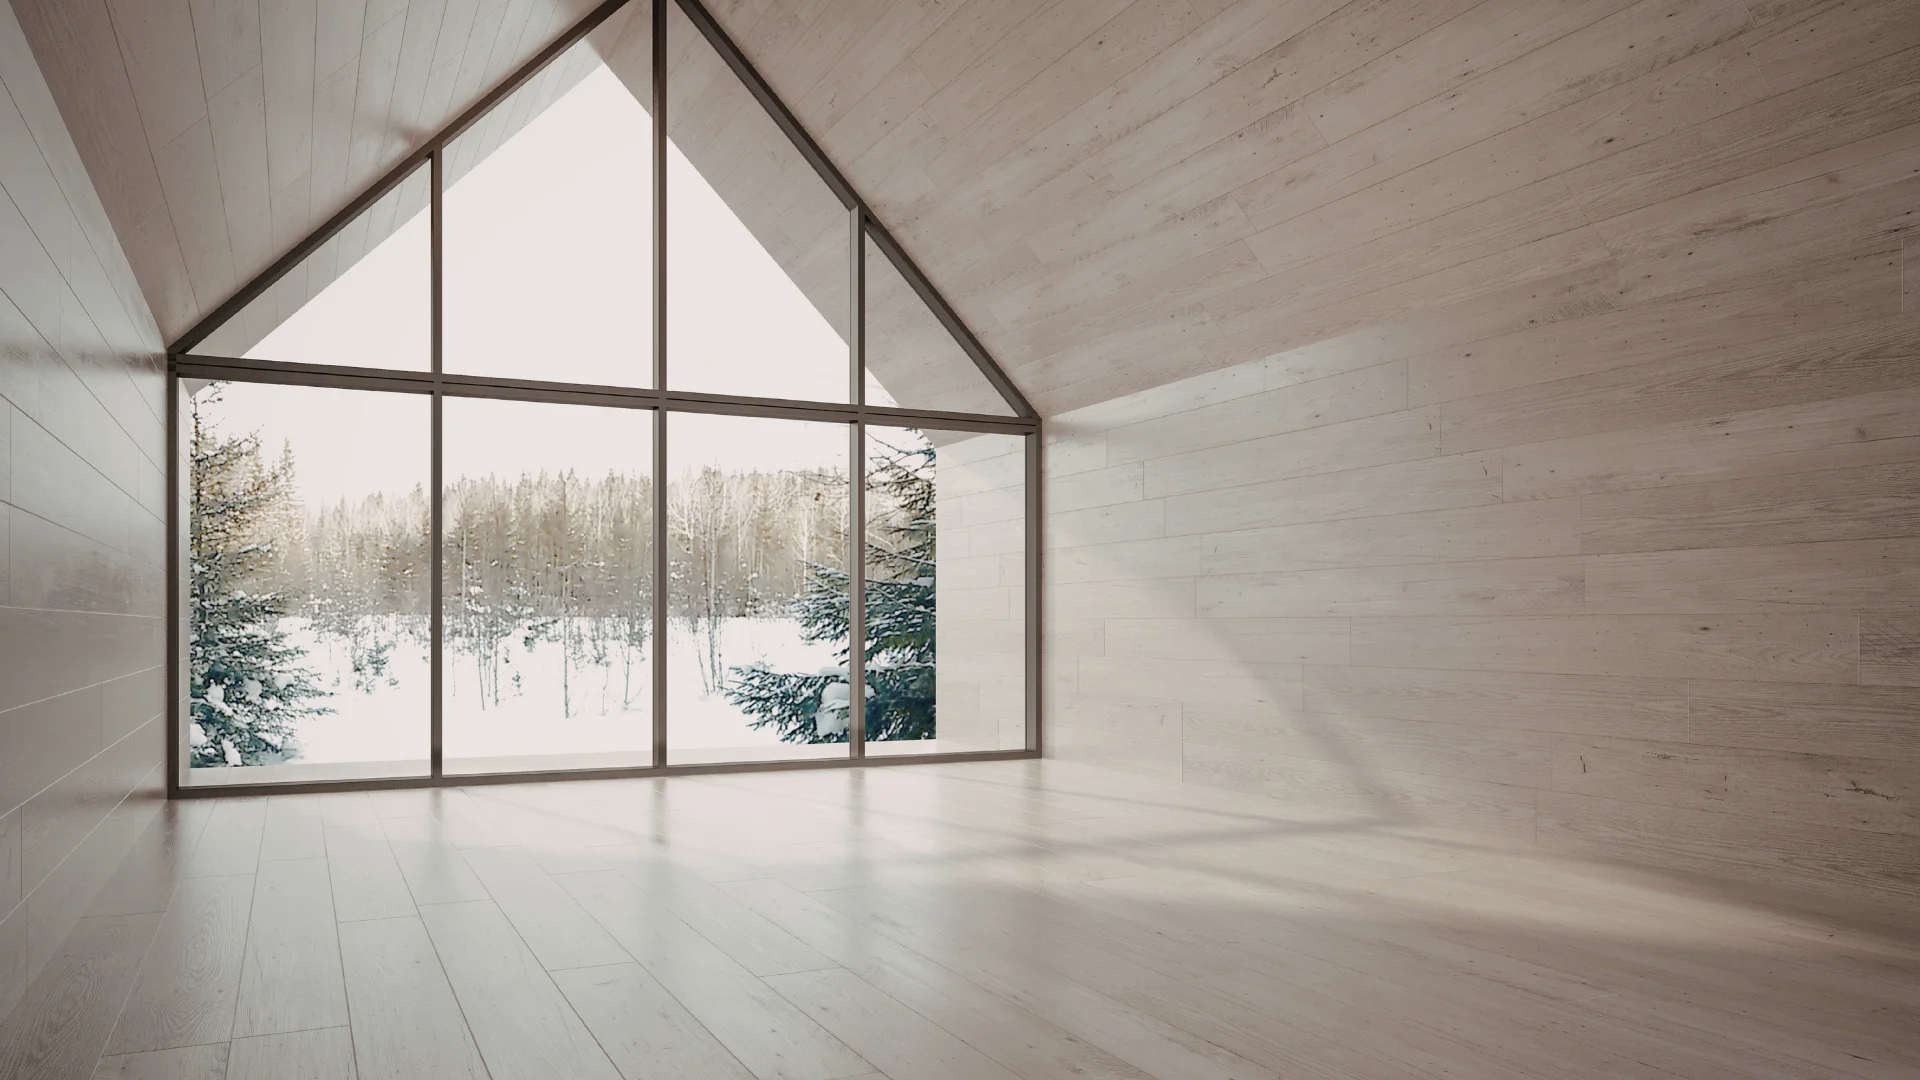
Clear glass transmits roughly 90-91% of visible light, so installing glass staircases, balustrades, or glass-front cabinets extends daylight deeper into your plan and reduces the need for daytime artificial lighting; low-E coatings maintain visible light while limiting infrared, and laminated glass can block up to 99% of UV to protect finishes.
To maximize daylight, orient transparent elements toward primary light sources and use low-iron glass where color neutrality matters; for glare control, specify fritting, frosted bands, or low-E coatings, and follow common thickness guidelines-4-6 mm for cabinet doors and 10-12 mm for balustrades-to balance translucency with structural requirements and user safety.
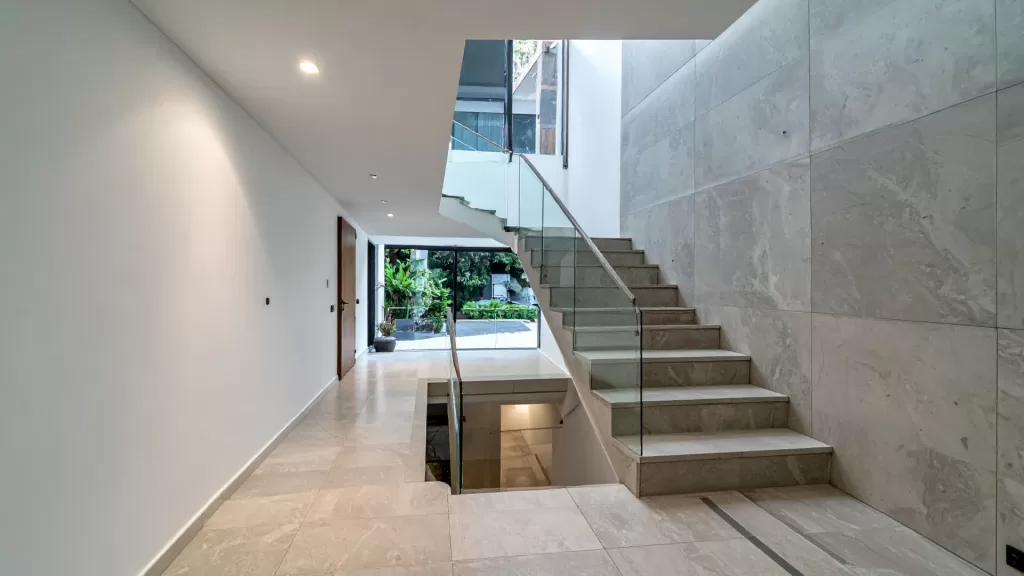
Glass Railings: Safety Meets Style
You can achieve both transparency and protection by choosing tempered, laminated glass panels-typically 10-12 mm (3/8″-1/2″)-mounted to meet a minimum guard height of 36″ for residential and 42″ for many commercial applications; panels resist impact and, with a PVB interlayer, stay intact on breakage. Engineers often design for a 200 lbf concentrated load at the top rail per code, so your glass system should pair elegant sightlines with engineered connections that handle real-world forces.
Design Options
You can pick frameless panels for an uninterrupted view, channel-mounted systems for a minimalist base shoe, or spigot-mounted configurations that give a modern, floating look; integrating a slim stainless steel top rail adds tactile security. For staircases, order angled or scribed panels to match stringer geometry, and consider fritted, tinted, or back-painted glass to control glare-many projects blend clear panels with a 1-2″ stainless handrail for both code compliance and aesthetics.
Installation Considerations
You should verify substrate strength first-concrete, steel, or timber anchorage dictates whether you use base shoe channels, through-bolted spigots, or side-clamped posts-and maintain post spacing of about 4-6 ft (1.2-1.8 m) to limit glass panel sizes. Also confirm local guard height requirements, glass thickness, and that an engineer signs off when openings, loads, or custom brackets exceed prescriptive limits; proper anchorage prevents deflection that compromises seals and fittings.
You’ll benefit from shop-templated panels when angles and runs are complex: precise templating reduces on-site cutting and costly delays. Allow a 2-6 week fabrication window, specify stainless fasteners and neoprene setting blocks, and require a certified glazier to grout base shoes, torque spigots, and seal expansion gaps-this attention to tolerances (±1/8″ typical) and movement due to thermal cycling preserves alignment and long-term performance.
Stunning Glass Staircases
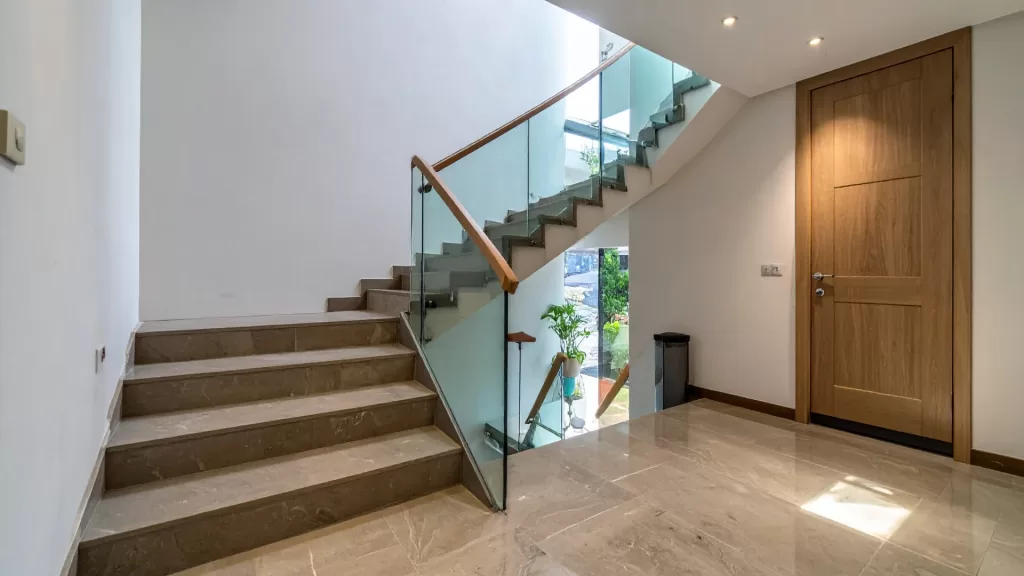
When you install a glass staircase, you gain daylight, depth, and a modern focal point while respecting structural demands: balustrades commonly use 10-12 mm tempered laminated panels, whereas treads are typically multi-layer laminated assemblies totaling roughly 30-40 mm to meet load and deflection limits. You can pair frameless glass with steel stringers, or choose fully structural glass engineered to specific live-load criteria; in tight lofts this often improves perceived space without sacrificing code-required handrails and slip resistance.
Types of Glass Staircases
Contemporary options range from frameless glass balustrades to cantilevered glass treads, each with distinct engineering and aesthetic trade-offs: frameless panels deliver minimal sightlines with 10-12 mm panels, cantilevered laminated treads weigh and span according to support spacing, and fully structural monolithic systems require bespoke engineering and typically thicker laminates.
- Frameless balustrade: 10-12 mm tempered laminated glass panels fixed with clamps or channels for clean sightlines.
- Cantilevered glass treads: 30-40 mm laminated treads supported by recessed steel fins for a floating effect.
- Structural monoblock stairs: engineered laminated assemblies serving as both tread and structure, designed per project loads.
- Box-stringer with glass infill: metal stringers provide strength while glass fills the riser/side areas for contrast.
- Thou should verify local load, handrail, and slip-resistance standards before selecting any system.
| Frameless Balustrade | 10-12 mm tempered laminated panels; ideal for unobstructed views |
| Cantilevered Glass Treads | 30-40 mm laminated treads mounted to steel fins; dramatic floating effect |
| Structural Monoblock | Thicker laminated assemblies acting as primary structure; bespoke engineering |
| Box-Stringer with Glass Infill | Glass panels between stringers, 12-15 mm typical; mixes transparency and strength |
| Central Spine with Glass Panels | Single steel spine + glass infill; balances sculptural form and glass visuality |
Maintenance Tips
Keep your glass stairs clear and safe by establishing a simple schedule: wipe glass weekly with a microfiber cloth and pH-neutral cleaner, inspect fixings every three months and torque bolts per manufacturer specs, and perform a professional structural review annually-these steps preserve clarity and verify load-bearing connections without harsh chemicals that can pit metal fittings.
- Clean weekly using diluted dish soap or a pH-neutral glass cleaner and a microfiber cloth to avoid streaks.
- Inspect mounts and seals every 3 months; tighten loose fittings and replace degraded silicone within 12-18 months.
- For treads, add certified non-slip films or nosing to meet coefficient of friction requirements for stairs.
- After one year, schedule a certified glazing inspection to confirm lamination integrity and connection safety.
For deeper care, document each inspection with photos and torque values; when you spot delamination (clouding between plies), hairline cracks, or bent brackets, remove traffic and consult a structural glass specialist-minor surface scratches can often be polished with cerium oxide, but edge damage or core delamination typically requires panel replacement to restore designed safety margins and warranty coverage.
- Keep a maintenance log with dates, torque readings, and replacement parts to track trends over time.
- Protect glass during moves with padded coverings and avoid dragging heavy items across treads.
- Retain manufacturer and engineering documentation on-site so any replacement matches original specs.
- After any noticeable impact, restrict use and commission a professional assessment before reopening the stair.
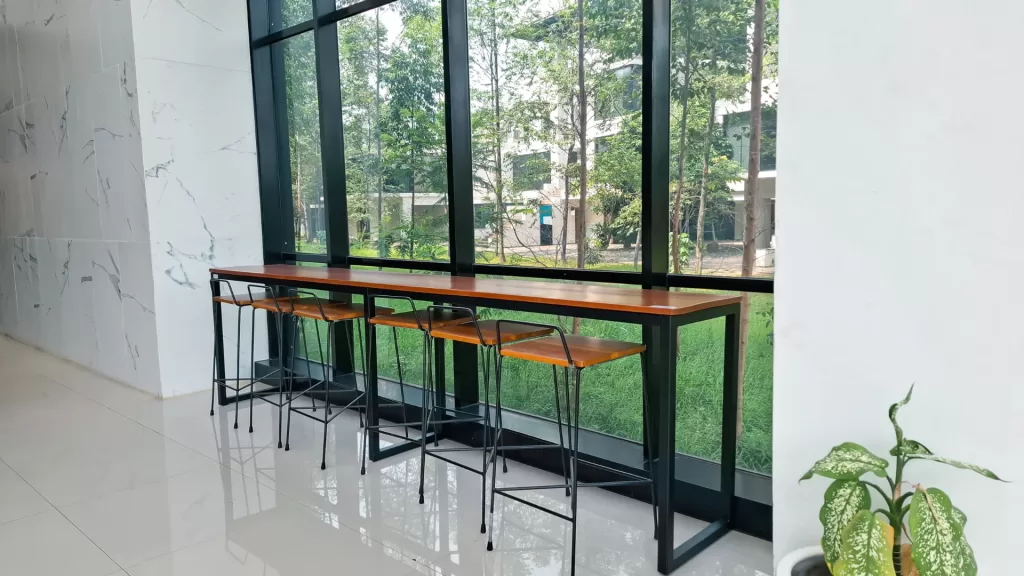
Glass-Front Cabinets: Showcasing Your Style
Glass-front cabinets turn selected storage into curated displays by using clear, seeded or frosted glass, 4mm-6mm thick, and integrated LED strips (3000K warm) to highlight textures and colors. You can pair frameless Euro-style boxes with wood surrounds or use mullioned doors for a traditional look; in a 12′ kitchen run, swapping three upper doors for glass fronts immediately creates visual rhythm while keeping most storage concealed.
Design Ideas
Mix full-view clear panes for showpieces and frosted panels for everyday items, or back-paint the inside of one cabinet in a contrasting color like deep navy to make white dishware pop. You might choose 30″ or 36″ high uppers with glass on top thirds only, add brass pulls for warmth, and stagger mullion widths-3″ to 6″-to create refined geometry that complements your staircase or railing lines.
Organizing with Glass-Front Cabinets
Keep contents intentional: group items by color, use uniform containers, and limit visible stacks to three plates high to avoid clutter. Position frequently used items at 36″-48″ eye level, leave 2″-3″ of negative space around displays, and install adjustable shelving with 1″ increments so you can tailor spacing for bowls, stemware, and cookbooks.
Further refine visibility with clear shelf risers and acrylic bookends to create tiers; place glassware 1″ apart to prevent chips and use anti-slip pads beneath serveware. For pantry-style cabinets, transfer goods into labeled glass jars (250-1000 mL) and arrange by height and frequency of use so your display is both attractive and practical.
Benefits of Incorporating Glass in Interiors
Beyond aesthetics, glass delivers functional gains: tempered glass is roughly four times stronger than annealed, letting you specify thinner panels (3-12 mm) that preserve sightlines while meeting ANSI Z97.1 or EN 12600 safety ratings. You increase daylight penetration and visual continuity-low-iron options remove the green cast for truer displays-while laminated assemblies add hold-in-place safety and basic acoustic dampening for busy living zones.
Modern Look
You achieve a clean, contemporary aesthetic by choosing frameless panels, minimal stainless-steel clamps, or concealed channel fixings; designers commonly use 10-12 mm for railings and 8-10 mm for stair elements to balance transparency and stiffness. Low-iron glass and polished edges amplify clarity, and pairing glass with matte hardware or powder-coated handrails keeps the focus on lines and light rather than ornament.
Versatility
You can apply glass across functions: clear or textured panels as room dividers, 3-6 mm tempered doors for display cabinets, 8-12 mm structural panels for stair balustrades, back-painted glass as splashbacks, or integrated LED shelves for product-style illumination. Laminated options combine safety with interlayers that accept printed patterns or mirrored finishes for layered effects.
For deeper customization, you can choose acid-etched or sandblasted textures for privacy, low-iron for museum-grade clarity, and PVB or SGP interlayers in laminated glass to improve post-breakage performance and acoustic isolation. Installation details matter-polished edges, proper bearing points and stainless fixings extend service life-and back-painted or digitally printed glass lets you match any RAL color or bespoke graphic without losing the material’s reflective benefits.
Challenges in Using Glass
You’ll face a blend of structural, aesthetic and maintenance challenges when specifying glass for railings, staircases and cabinets. Glass requires precise engineering-thicknesses typically range from 10-25 mm depending on application-and often mandates laminated or toughened safety glass. Glare, privacy and slip resistance on treads demand added treatments like frits or anti-slip pads. Installation tolerances are tight, so on-site adjustments and specialist installers are common, which affects timelines and coordination with other trades.
Fragility Concerns
Even though tempered glass is roughly four to five times stronger than annealed glass, you still need to treat it as a load-bearing but impact-vulnerable material. Laminated assemblies keep shards bonded after impact, so you should specify laminated layers for high-traffic stairs and balcony facades. For example, stair treads often use laminated 20-25 mm panels to meet impact and deflection limits; corners and point loads are common failure points you must address with reinforced fixing details.
Cost Implications
Glass options typically raise upfront costs: frameless glass railings frequently run $150-$400 per linear foot, bespoke glass staircases commonly start around $8,000 and can exceed $40,000, and glass-front cabinet doors often cost $50-$300 each depending on edgework and hardware. You’ll pay premiums for laminated or low-iron glass, custom cutouts, and specialty fittings, so budget planning must reflect these variables rather than comparing only material prices.
Beyond purchase price, additional cost drivers include engineering, custom fabrication and site labor: structural steel stringers or reinforcements can add $1,000-$10,000; spider fittings or bespoke hinges often cost $200-$800 apiece; laminated glass can be 20-50% more than single-pane tempered. Replacement of a damaged panel typically ranges $300-$2,500 depending on size and treatment, and longer lead times for custom glass increase holding or scheduling costs you’ll need to account for in your project budget.
Glass in Home Interiors Conclusion
Taking this into account, you can leverage glass railings, staircases, and glass-front cabinets to amplify light, sightlines, and perceived space while maintaining safety with tempered or laminated glass and discreet hardware. Thoughtful framing, tints, or frosting lets you balance privacy and openness; integrated lighting and mixed materials add warmth and contrast. By planning with professionals and proper finishes, your interiors become cleaner, more modern, and enduring.